

Strawberries were always a big part of my childhood growing up. My Nan and Grandad’s neighbour would grow strawberries every year. Mr Lowe was a generous man and he would always give my Nan strawberries from his harvest. Then as a teenager and young adult my dear old dad would make strawberries with sherry. It was a really delicious dessert. Nowadays I enjoy creating new recipes so I decided to make another cheesecake with soy beans and a strawberry topping. The results were so tasty that of course I had to share the recipe with you. Below is a video and recipe for you.
What are your favourite summertime sweet treat memories from your childhood. Let me know in the comments below and please don’t forget to like and follow me.

Equipment for the base
- Spring form tin x 7 inches
- Greaseproof paper
- Sealed bag
- Rolling pin
Ingredients for the base
- Chocolate biscuits x 350g of recipe
- Coconut oil x 125mls
Method for the base
- Make the biscuits from the recipe.
- Line a 7 inch springform cake tin with a piece of grease proof paper.
- Put the biscuits into a bag that can be sealed.
- Break the biscuits with the rolling pin until they resemble crumbs.
- Pour the biscuit crumbs into the large mixing bowl.
- Melt the coconut oil, if not melted already.
- Pour the coconut oil over the crumbs.
- Mix the crumbs in the coconut oil until they are covered in the oil.
- Pour the mixture into the pre-lined cake tin.
- With the metal spoon flatten the biscuit crumbs on the bottom and around the sides of the cake tin.
- Put this into the freezer for about 30 minutes.
Equipment for the filling
- Saucepan
- Colander
- Blender with the spatula
- Scraper
Ingredients for the filling
- Cashew nuts x 200g
- Soya beans x 100 – 150g
- Coconut sugar x 125g
- Coconut cream x 200mls
- Raw cacao powder x 1 – 2 tsps
- Maca powder x 1 tsp
- Baking powder x 1 tsp
- Salt x 1 pinch
Method for the filling
- Preheat the oven to 140°C or gas mark 2.
- Measure the amount of beans you will need for your recipe.
- Put them into the large bowl, if you haven’t already then cover in enough water and then a couple of inches above.
- Soak the beans in the fridge overnight.
- You may want to use a bowl with a lid.
- The next day remove the beans from the fridge and pour any excess water through the colander.
- Rinse under the tap.
- Put the beans into the large saucepan.
- Again pour enough water to cover the beans plus a two inches above.
- Add in the baking powder and salt to your taste.
- Turn the hob onto high and bring to the boil.
- When the pan starts to boil turn the heat down to low.
- Leave to simmer until most of the water has disappeared.
- Then drain through the colander and rinse under the tap.
- Put a small saucepan onto a high heat on the hob.
- Pour water into the saucepan and add in the cashew nuts.
- Bring the pan to the boil and then leave to simmer for 5 minutes.
- Or soak the cashew nuts in water overnight in the fridge.
- Once the cashew nuts are soft remove from the heat.
- Pour through the colander over a sink.
- Pour the coconut cream into the blender.
- Add in the cashew nuts, cooked soya beans, coconut sugar, raw cacao powder, maca powder and baking powder.
- Blend all of these ingredients together using the blender spatula to mix from the top.
- Once all the ingredients are smooth remove the base from the freezer.
- Pour the blended ingredients into the base and spread as evenly as possible across it.
- Place the cheesecake into the oven for 40 – 45 minutes or until golden brown on top.
- Once the cheesecake is golden brown remove from the oven and leave to cool.
- Put it into the fridge overnight.
Equipment for the topping
- Pairing knife (small)
- Chopping board
- Baking tray
- Tablespoon
- Teaspoon
- Small mixing bowl
- Stirring spoon
Ingredients for the topping
- Strawberries x 500g
- Coconut oil x 2 tbsp
- Maple syrup x 2 tbsp
- Ground sweet cinnamon x 1 – 2 tsp
- Vanilla extract x 1 – 2 tsp
- Coconut cream x 80mls
- Maple syrup x 2 tbsps
Method for the topping
- Preheat the oven to 200°C or gas mark 6.
- Put the baking tray in while the oven preheats.
- Start by hulling the strawberries.
- To hull a strawberry, insert a small knife into the top of a strawberry near the green leaves.
- Using the knife, cut around the outside and back to the start.
- Pull on the green leaves which will take out that part of the strawberry and the stem inside.
- Repeat the process until all the strawberries are hulled.
- Once the oven has preheated remove the baking tray.
- Put the coconut oil and maple syrup into baking tray.
- Let these melt down and mix them together.
- Once they the oil and sugar are mix together add in the cinnamon and vanilla.
- Put the strawberries in and toss all of these ingredients together.
- Place the baking tray into the oven and bake the strawberries for 25 – 30 minutes or until the start to turn golden brown.
- Remove from the oven and leave to cool.
- Then place the cooked strawberries on top of the cheesecake.
- Slice the cake and serve.
- Then enjoy.
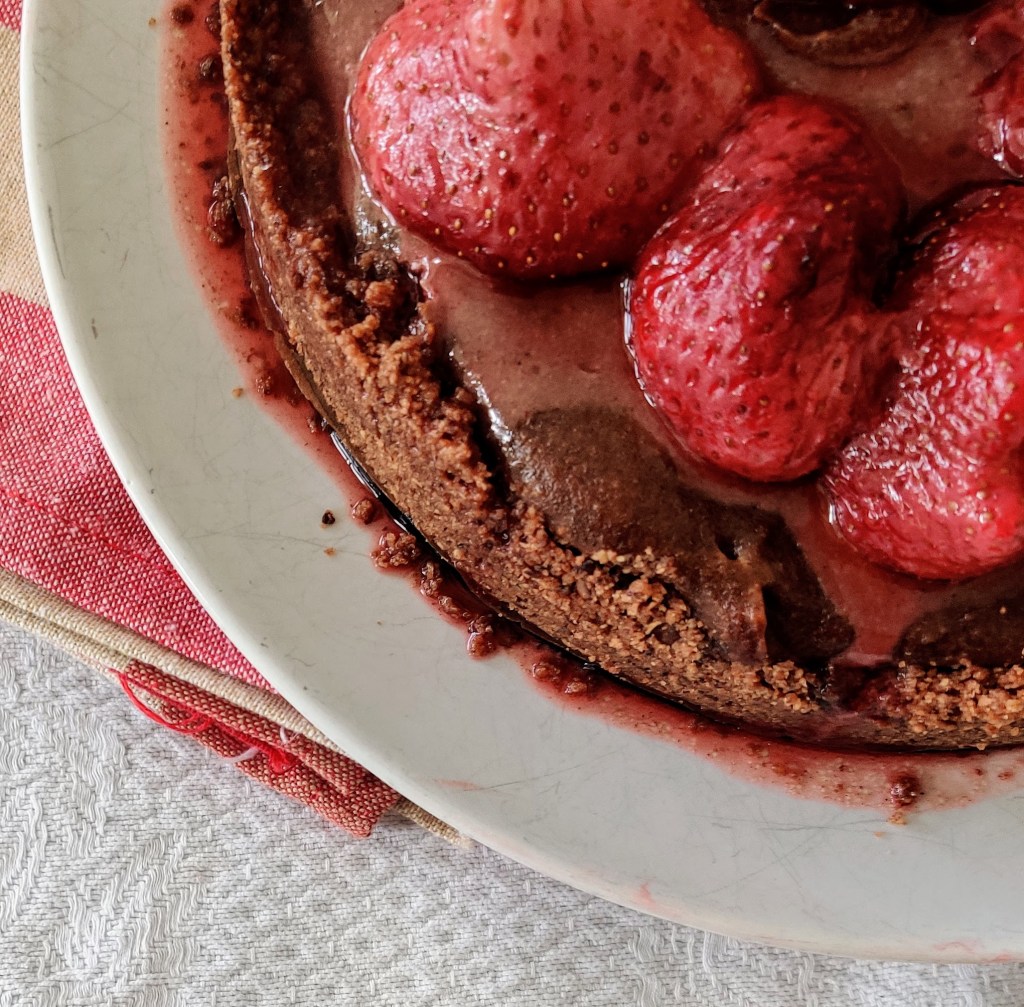
Strawberry and Chocolate Cheesecake was a delicious sweet treat. It was easy to prepare and cook. Although it was time consuming but the effort are work the results. The cheesecake will last a few days in the fridge. Due to the rice flour in the biscuits the cheesecake isn’t freezable. Tapioca starch could be used instead of rice flour in the biscuits if you want to freeze the cheesecake. We loved this dessert and if made yummy leftovers as well. However you decide to eat this sweet treat, as always, please enjoy. Thank you xxx

